How to Use GitHub For Ongoing Work
1
Choose Your Apps
You can access GitHub through the GitHub website, GitHub Desktop, or a program like VScode. For this tutorial we'll assume you are using the website, GitHub Desktop, and VScode.
2
3
Clone the Repo and Create a New Branch
For more detailed ongoing tasks, you'll want to Clone the repo and create your own Branch. This will allow you to do ongoing work.
To do this, go to Github website and clone the repo you are making a change to.
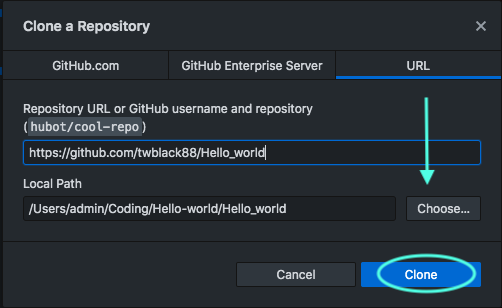
Cloning the repo creates a version of the repo on your local computer. A branch is your own fork-like space where you can make changes to files without impacting the original project.
Clone
On the GitHub Website, navigate to the repository you want to change. For example, Community Development's GitHub.
In the top-right corner of the content, click code. Click "Open with GitHub Desktop."
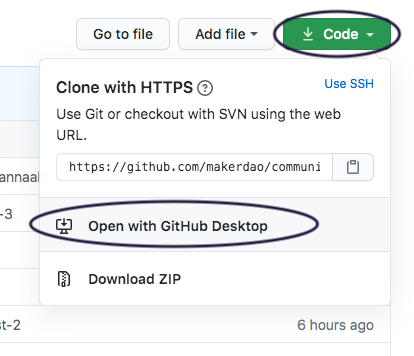
Choose where on your computer you want the repo to live.
Create a New Branch
On GitHub's app, click the branch selector menu. Type a unique name for your new branch, then select
Create branch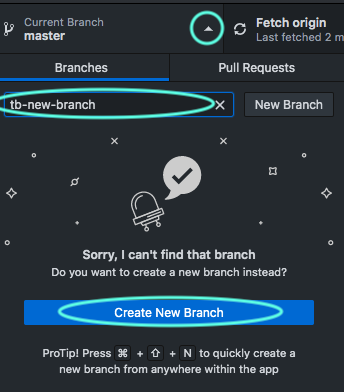
You are now ready to work with GitHub directly through GitHub Desktop and an IDE like VScode, you'll use those programs to stay up-to-date and won't spend all that much more time using the GitHub website from here on out.
4
Navigate to File/Folder
Open VScode and use the file explorer sidebar on the left hand side to go to the file you are looking for (or use the search command). Make sure you are on your branch before you start editing or creating files!
5
Edit/Add File
Edit File
Once in the file, change things, add content, begin additions. This will create a duplicate of the content in your local branch, staging every saved change along the way. This allows making and proposing new changes without overwriting the published content on the master branch.
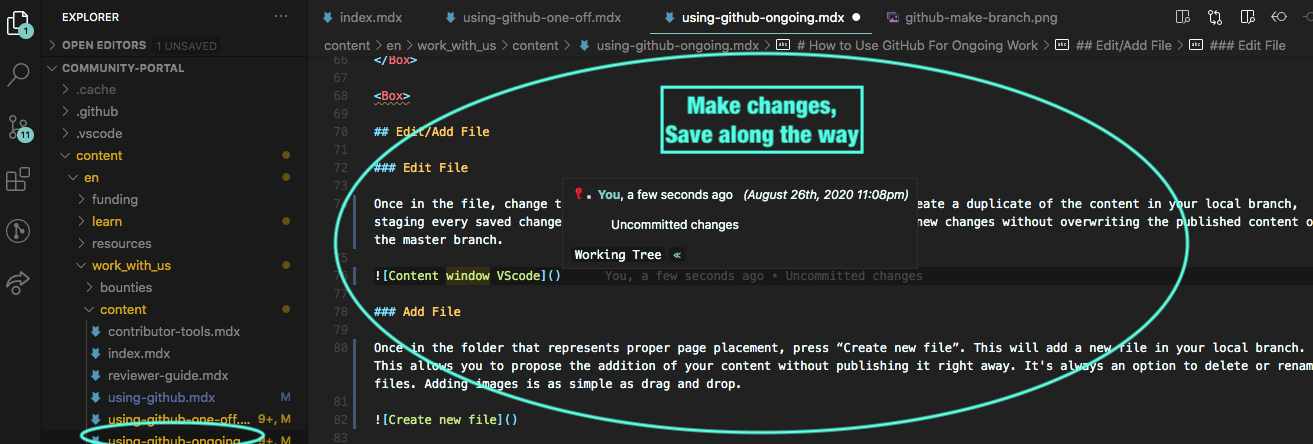
Add File
Once in the folder that represents proper page placement, press “Create new file”. This will add a new file in your local branch. This allows you to propose the addition of your content without publishing it right away. It's always an option to delete or rename files. Adding images is as simple as drag and drop.

6
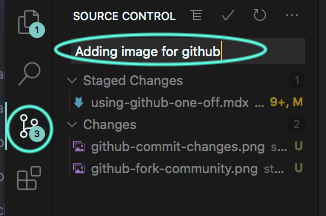
Stage Changes
Whether uploading a file or making changes to existing work, git will catch all changes made. Depending on the environment (code editor, github's website etc.) initiating a live change is as simple as staging the fresh update. Navigate to the source control button and stage the changes for committing.
7
Create Pull Request
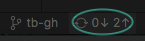
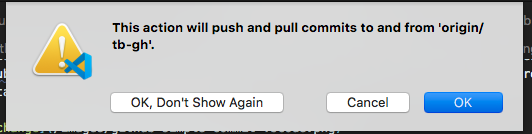
Once changes are staged and committed, it's time to make a PR. You can push commit to Github from VScode
It will give you an alert to make sure you want to add these changes to the Github.com
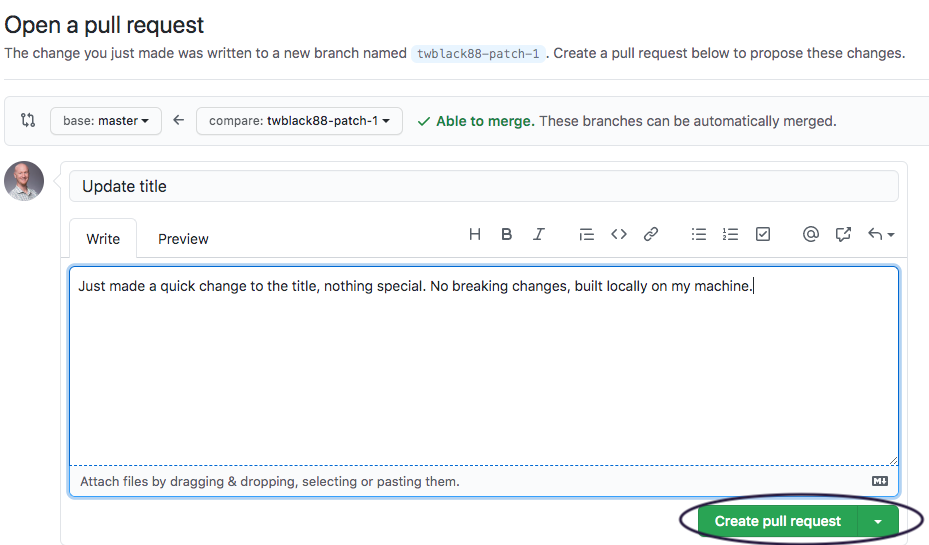
Navigate to the GUI on Github.com and create a pull request.
8
Review/Merge
There might be feedback/changes on a PR. A reviewer can approve, request changes, or merge the edited file into the repo. Edits can be made with an open PR (often without leaving Github's website) and the PR will update automatically. Once happy, a reviewer will merge your work and it will be live on the site.
Make sure your branch stays up to date by merging the master branch into it before you work. Here is the how-to for syncing your Branch in GitHub Desktop.